 Chat with us on WhatsApp


Give your Dining Chairs a makeover with our DIY hacks
Ever wanted to spruce up your interior design? Don't fancy hiring a decorator and splashing the cash? There are plenty of ways you can refresh your home's look without going all out. In fact, we'll soon be putting together a blog post that'll be jam-packed with DIY ideas to change up your interiors. All of these, of course, will be achievable without too much cash or effort. In today's post, we're going to take a closer look at how to paint dining chairs to renew your dining room!
How to paint dining chairs at home
Obviously, you can't just paint any dining chairs. Your chairs will need to meet specific criteria in order to be decorated. We don't recommend painting plastic or metal components of chairs as this requires a much more difficult and often professional method. However, if you're looking for a fun and quick transformation, wooden dining chairs are perfect. And don't worry if your chair isn't entirely made from wood - you can just opt to paint the wooden legs if, for example, the seat is upholstered. That usually gives the best finish, like Elle Darby's take on our Regent dining chairs (check that out for inspiration!). Here's how to do it...
What you'll need:
- Old sheet or tarp (for protection)
- Rags/old cloths
- Sandpaper
- Tack cloth
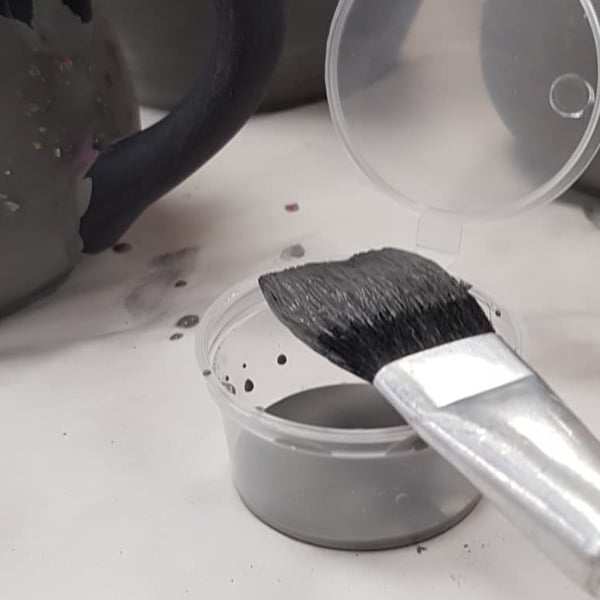
- Paintbrushes (small)
- Paint primer
- Paint
The method
Hint: this method can take a few days, so prepare your time wisely.
- Protect the surrounding area of the room you're painting in by placing tarp or a sheet on the floor. This will be your dedicated working area - make sure you open the windows to keep everything nicely ventilated, too.
- First, you need to clean your wooden chair legs. Start by tipping the chair upside down so that the legs are pointing upward. Wet a rag and use it to wipe away any dust, dirt or debris on the chair legs.
- Once the chair is dry, you should take your sandpaper and roughen up the surfaces. Only do this on wooden legs! Sanding furniture is always a great way to start the painting process as it acts as an initial primer. Use a tack cloth to wipe the legs after sanding.
- Now, it's time to apply the proper primer. We recommend using an oil-based primer, applying with a small paintbrush (using even strokes) and then leaving to dry overnight. Make sure you coat all wooden surfaces.
- The next day, check your primed surfaces for any bubbles. If any show, sand the area again and repeat the above steps.
- Once the primer is set and dry (important!), apply a coat of your chosen paint to the legs with a small paintbrush. Use semi-gloss or satin paint if possible, in a colour that'll match the seat of your chairs and the rest of the room.
- Apply two coats, the second when the first is dry. Allow the chair legs to dry overnight and then touch up any missed bits the next day. Once your chair legs are fully dry, you can enjoy your new look!
Common mistakes to avoid
- Don't listen to advice that says to skip sanding. It's massively important if you want an even surface to make painting easier.
- A tack cloth is crucial for preparing the surface.
- Research the correct primer for your furniture. Multi-surface primer is good if the legs have been previously painted or treated, whilst specific wood varnish is perfect for natural wood legs.
- Make sure your coats paint can dry withour distraction i.e. don't let pets or kids near them! If possible, keep the room off limits while the paint dries so nothing can stick in it or ruin the finished look.

Comments