 Chat with us on WhatsApp


Bar Stools are both stylish and practical for a kitchen or bar area. However, over time they can be subject to wear and tear. Whether your bar stools have shaky legs or ripped upholstery, our guide will help you restore them to look like new.
Jump Straight Into
How to Replace a Gas Lift Bar Stool
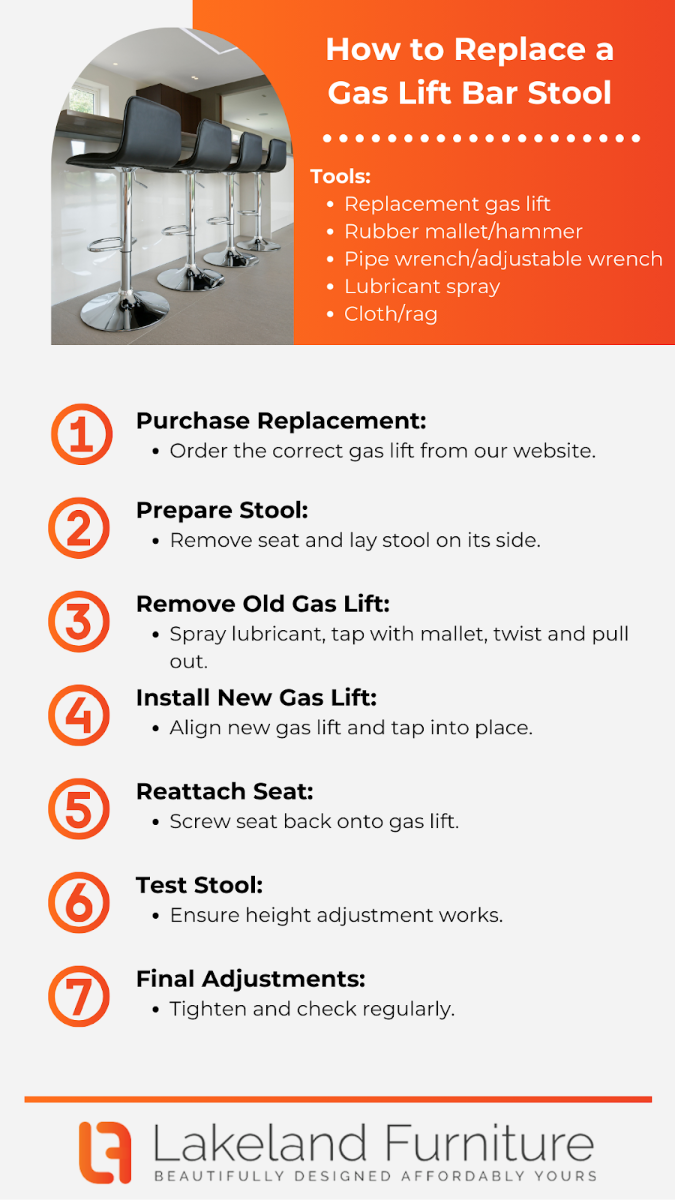
Replacing the gas lift section in your bar stool can restore it to its former glory and height adjustment capabilities. Follow this step-by-step guide to replace the gas lift section with our replacement parts.
Tools and Materials Required:
-
Replacement gas lift
-
Rubber mallet or hammer
-
Pipe wrench or adjustable wrench
-
Lubricant spray
-
Cloth or rag
Step 1: Purchasing the Replacement Gas Lift
Head over to our website and order the right model for your gas lift replacement. Make sure to get the measurements and description correct.
Step 2: Prepare the Bar Stool
-
Remove the Seat: Remove the seat from the base of the stool. This would be unscrewing it from the base.
-
Lay the Stool on Its Side: Place the stool on a stable surface, lying it on its side. This makes it easy to access the part of the gas lift.
Step 3: Remove the Old Gas Lift
-
Spray Lubricant: Spray lubricant around the base of the old gas lift. This will loosen it.
-
Use a Mallet or Hammer: Gently tap the bottom of the gas lift with a rubber mallet or hammer to loosen it from the base. Be careful not to damage the stool.
-
Twist and Pull: Hold a gas lift by a pipe wrench or adjustable wrench. Twist and pull it out from the base. If it's stuck, apply some force.
Step 4: Installing the New Gas Lift
-
Install the New Gas Lift: Place the new gas lift into the base of the stool and make sure it aligns properly.
-
Tap into Place: Use the rubber mallet or hammer and lightly tap the new gas lift into place, securing the end.
Step 5: Reattach the Seat
-
Position the Seat: Put the seat back onto the gas lift.
-
Lock in the Seat: Place back the seat using the screws you had earlier removed. Ensure all screws are tightly fit.
Step 6: Testing the Bar Stool
-
Upright the Stool: Position the stool back upright.
-
Test Height Adjustment: Test if the height adjustment works, actually sitting on the stool for it.
Step 7: Final Adjustments
-
Tighten if Needed: If there's a bit of movement, tighten; otherwise, it is okay.
-
Check Regularly: The gas lift should be regularly checked to avoid loosening over some time.
How to Reupholster Bar Stools
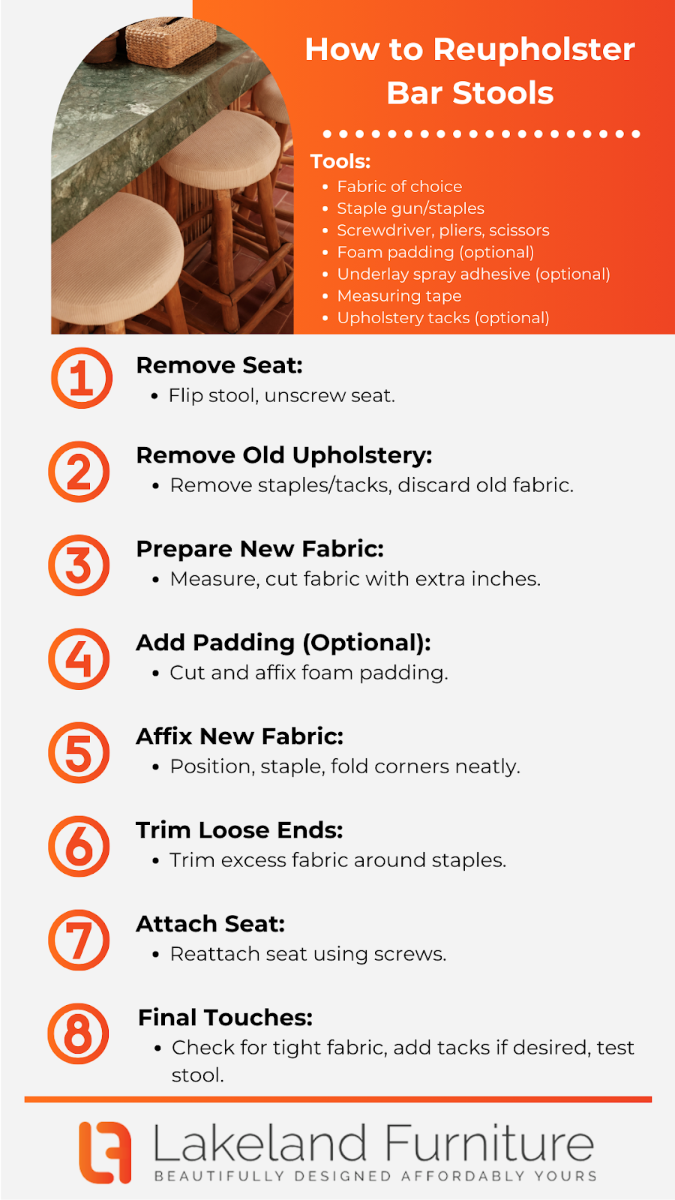
Reupholstering a bar stool will certainly bring a breath of fresh air to any bar stool. Apply the steps below to give your bar stool a face lift with new fabric.
Needed Tools and Materials:
-
Fabric of your choice
-
Staple gun and staples
-
Screwdriver
-
Pliers
-
Scissors
-
Foam padding if required
-
Underlay spray adhesive (optional)
-
Measuring tape
-
Upholstery tacks (not obligatory)
Step 1: Remove the Seat
-
Flip the Stool Over: Place the stool on a stable surface with the seat upside down.
-
Unscrew the Seat: Unscrew the seat from the stool frame using a screwdriver. Store these screws to be used later for reassembly.
Step 2: Remove Old Upholstery
-
Remove Tacks or Staples: Take out the staples or tacks that are holding the old fabric in place, using a pair of pliers. Be careful not to tear up the seat base.
-
Remove old fabric: Once you have removed the staples or tacks, remove the old fabric along with its paddings.
Step 3: Prepare New Fabric
-
Measure the Seat: Measure the dimensions of your seat, including its sides, to buy a large enough yard of fabric. Add extra inches for stapling.
-
Cut the Fabric: Cut the new fabric in the dimensions required, ensuring that you have enough extra inches to wrap it around the seat and staple under it.
Step 4: Add Padding (Optional)
-
Cut Foam Padding: If the padding is worn, measure and cut a piece of foam padding to size for the seat.
-
Affix Padding: Apply spray adhesive to the seat base and apply the foam padding. Dry as instructed on the adhesive.
Step 5: Affix New Fabric
-
Position the Fabric: Lay the new fabric face down on a flat surface. Position the seat upside down on the fabric in the centre.
-
Staple Fabric: Start from the centre of one side; pull the fabric taut, and staple to the seat's underside. From there, continue further towards the corners, working alternately on both sides to ensure equal stretch.
-
Fold the Corners Neatly: At the corners, fold the fabric neatly to prevent bulk and securely staple it in.
Step 6: Trim Loose End
-
Trim Fabric: Cut off the loose fabric around the staples using scissors, taking care not to cut the staple too close.
Step 7: Attach the Seat Again
-
Seat Alignment: Place the seat back onto the stool frame.
-
Screw the Seat: Using the same screws you had removed, reattach the seat onto the stool frame. Now all screws must be tightened.
Step 8: Final Touches
-
Check for Loose Fabric: Make sure all fabric is tight and in place; if desired, add upholstery tacks for extra security and a beautiful finish.
-
Test the Stool: Sit on the stool to make sure it feels comfortable and secure with the new upholstery.
How to Stop Bar Stools Squeaking
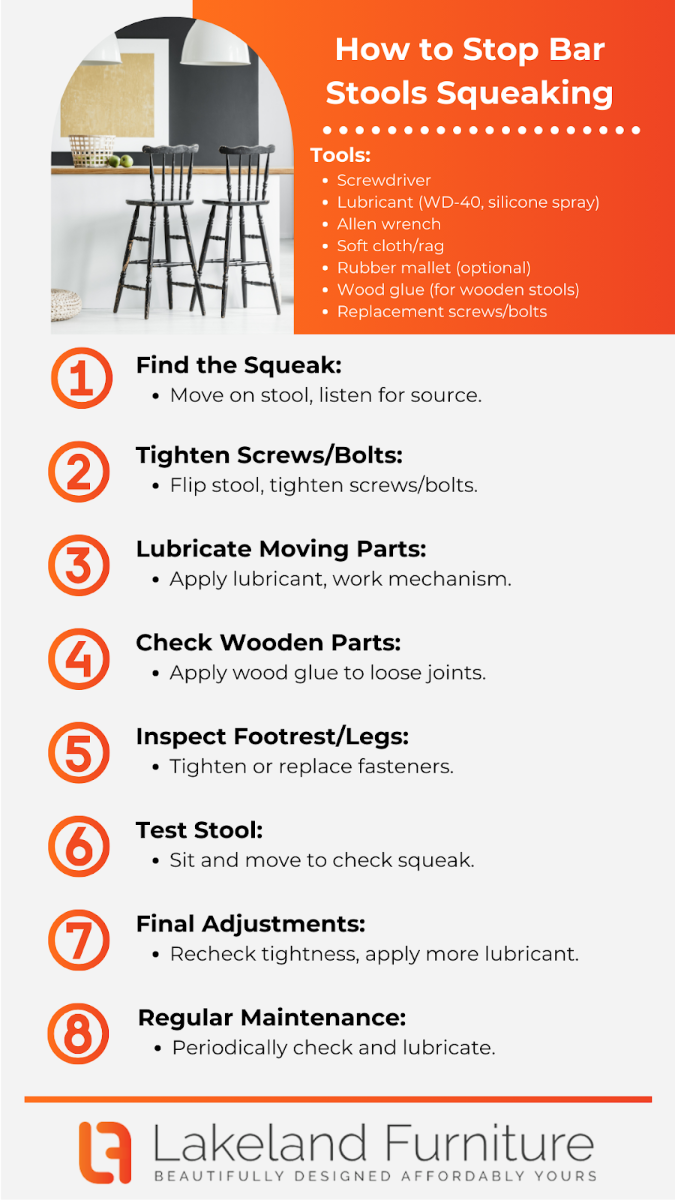
A squeaking bar stool can be very annoying and distracting. Follow these steps to identify and fix the source of the squeak, returning your stool back to its quiet and functional status.
Tools and Materials Needed:
-
Screwdriver
-
Lubricant (e.g., WD-40, silicone spray)
-
Allen wrench
-
Soft cloth or rag
-
Rubber mallet (optional)
-
Wood glue for wooden stools
-
Replacement screws or bolts if needed
Step 1: Find the Squeak
-
Climb on the Stool: Move around then freeze and listen to pinpoint the source of your squeak.
-
Look at Joints and Joints' connections: Listen well at the point where the legs, seat and footrest are attached to the stool frame
Step 2: Tighten Loose Screws or Bolts
Turn the Stool Upside Down: Once the bar stool is upside down you can check the screws and bolts for loose ones.
Tighten: Tighten screws or bolts using a screwdriver or an Allen wrench. Only tighten snugly, not too tight.
Step 3: Lubricate moving parts
-
Locate moving parts: Look for moving metal parts that rub against each other, such as swivels or height adjustment mechanisms.
-
Apply Lubricant: Apply some lubricant onto the moving parts. Wipe off excess lubricant with a cloth.
-
Work the Mechanism: Move parts of the stool around to work the lubricant into the mechanism.
Step 4: Checking Wood Parts (For Wooden Stools)
-
Checking Wood Joints: Check for any cracks or loose joints in stools made from wood.
-
Apply Wood Glue: In case of loose joints, apply wood glue and clamp the parts together; allow it to dry.
-
Screw Tighten: If needed, put or tightened screws to hold together glued parts.
Step 5: Footrest and Leg Connections
-
Check Connections: Check connections of the footrest and the legs for any looseness or wear.
-
Tighten or Replace: Any loose connections must be tightened, or the worn screw or bolt must be replaced.
Step 6: Testing the Stool
-
Upright the Stool: The stool must be turned right to its upright position.
-
Sit and Move: Finally, sit on the stool and move around to see if the squeak is gone.
Step 7: Final Adjustments
-
Recheck Tightness: Check all screws and bolts are still tight after testing.
-
Apply More Lubricant: Apply lubricant again to places that still squeak.
Step 8: Regular Maintenance
-
Periodic Checks: Check and tighten screws and bolts regularly to avoid future squeaks.
-
Keep Lubricated: Apply lubricant from time to time; this will help the movement be as smooth as possible.
How to Fix a Wobbly Bar Stool
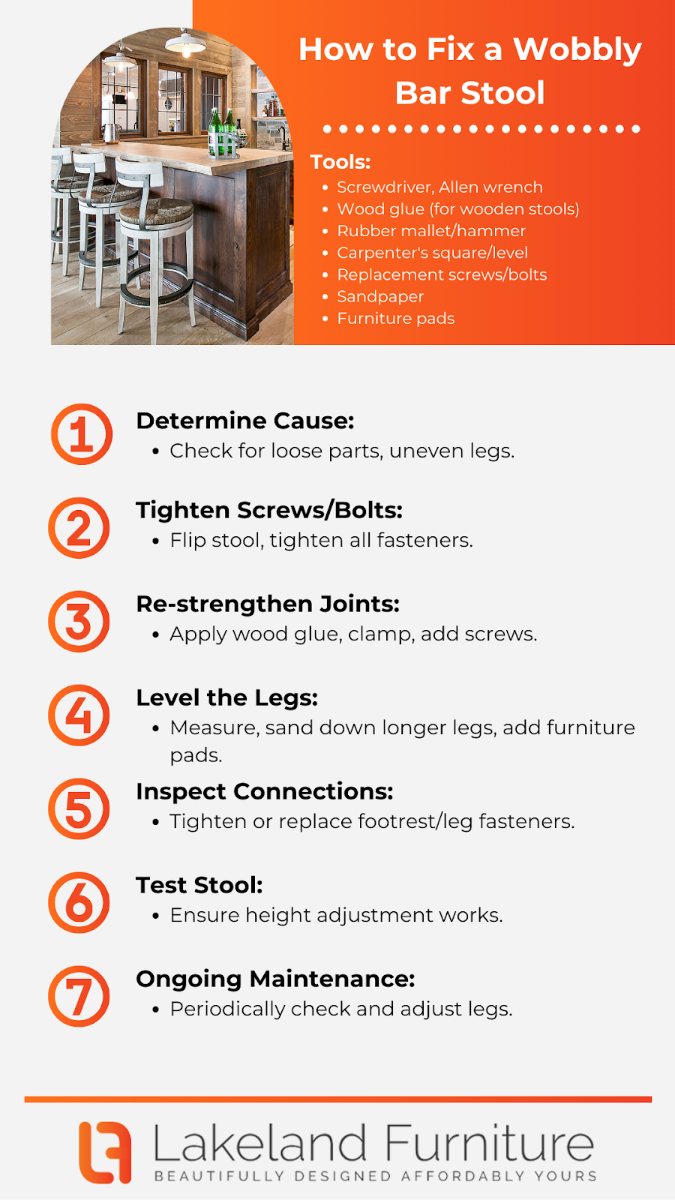
A wobbly bar stool is the last thing you want to deal with. With these steps you can fix your bar stool and back to being sturdy.
Tools and Materials Needed:
-
Screwdriver
-
Allen wrench, if appropriate
-
Wood glue (only for wooden stools)
-
Rubber mallet or hammer
-
Carpenter's square or level
-
Replacement screws or bolts
-
Sandpaper
-
Furniture pads
Step 1: Determine the Cause of the Wobble
Put the stool on a level floor and observe where it wobbles.
-
Check for loose parts: Observe all joints, screws, and bolts and find out which one of them is loose or damaged.
-
Observe the legs: Check for legs that are relatively shorter than others or those that do not make full contact with the floor.
Step 2: Tighten the Screws and Bolts
-
Flip the Stool Over: Place the Stool on a flat surface with its seat upside down.
-
Check All Joints: Using a screwdriver or Allen wrench, inspect all screws and bolts on the stool.
-
Tighten Loose Fasteners: Tighten any loose screws or bolts; take care not to over-tighten them.
Step 3: Re-strengthen Joints (For Wooden Stools)
-
Apply Wood Glue: Apply wood glue over any loose joints if required.
-
Glue and Clamp: A capability to glue assemble the parts clamping them together and let it dry per the manufacturer's instructions.
-
Add Screws for Extra Support: If necessary, attach or tighten screws to glued joints for extra support.
Step 4: Level the Legs
-
Measure Leg Lengths: Measure and check for equality of each of the legs' length using a carpenter's square or level.
-
Sand Down Longer Legs: If one or more legs are long, carefully use sandpaper to sand them down until they are even.
-
Add Furniture Pads: Attach furniture pads onto the bottom of the legs. These will even out small discrepancies and stop the table from rocking a bit.
Step 5: Inspect the Connections of Footrest and Legs
Check the connections of the footrest and the legs. If loose or worn, tighten or replace fasteners.
Step 6: Testing of the Stool
-
Stand up the Stool: Resume the stool to its upright position.
-
Test Stability: Plunk down onto the Stool and shift around to test it for any remaining wobble.
-
Recheck and Adjust: If it is still wobbly, recheck all the connections and make any necessary adjustments.
Step 7: Ongoing Maintenance
-
Periodic Checks: This must be regularly inspected and tightened to help avoid wobbling in the future.
-
Even Legs: Check the legs periodically and make sure it is even by adjusting accordingly.
Find the Right Bar Stools with Lakeland Furniture
Where you are looking for simple and minimal or bold and bright, we have a wide range of bar stools available. If you have any questions or need advice, contact our friendly team.

Comments